


La lista de LiT
Ideas + recursos para acampar y glamping
Beginner Astrophotography: Taking Photographs of the Night Sky
Pack your stargazing tent and head for dark skies! It’s time to learn astrophotography and capture those twinkling stars in the night sky once and for all. Here are easy beginner tips and best practices for taking photographs of the night sky.
Beginner Astrophotography: Taking Photographs of the Night Sky

When taking photographs of the night sky, there’s a lot to prepare for and learn. Like, for starters, avoiding light pollution. Even choosing the best camera and learning how to fine-tune the settings is tricky. But if you’re a novice astrophotographer, here is an easy guide and breakdown of how to photograph the night skies.
Choose the Correct Camera and Gear for the Job
Your night sky photography gear will help you get that crystal-clear shot. It doesn’t have to be super high-tech or expensive, but having the correct gear is essential. Here is a list of what you’ll need to carry along:
- Camera: The trickiest part about taking photographs of the night sky is being able to capture teeny-tiny stars and subtle constellations against a dark background. It often creates noise distortion and makes photos appear grainy. So your camera is the most important piece of photography gear.
A full-frame camera will offer sensors for high ISO and fast shutter speeds, which you need for photographing the night skies. Make sure to charge your camera before venturing out!
A smartphone camera can work too. Just be sure to turn your phone’s camera on Night Mode, which will allow you to take longer exposures, letting more light in. Many smartphones today come with a Night Mode option and will even auto-detect low-light settings, reminding you to choose it. After that, adjust the shot’s exposure time.
- Lenses: In addition to having a full-frame camera, you should bring a wide fisheye lens and/or an ultrawide lens. A wide fisheye lens guarantees to capture the most amount of sky. Keep in mind, however, that this type of lens optically distorts the final photo image. This might be the dramatic shot you want. But if not, simply use an ultra-wide angle lens.
- Tripod: A tripod is a must, and will help stabilize your camera, especially since you’ll be taking long exposures and dealing with outdoor terrains. Check out this article on the Best Tripods by Space.com to find one that fits your needs and budget.
- Remote Shutter Release: The last thing you want to do is accidentally shake or vibrate the camera and ruin a tediously planned shot. Instead, skip the frustration and get a remote shutter. Wireless or cable style, this device plugs into your camera’s port and allows you to take the shot from the sidelines.
- Intervalometer: This one is for more advanced astrophotographers, so upgrade your night sky photography equipment as you see fit. Essentially, an intervalometer is used to take multi-shot sequences and time-lapse clips or to photograph star trails.
- Headlamp: Keep hands-free with a headlamp. And while your headlamp may offer bright powered lumens, be sure to use the red light mode. The red light mode on your headlamp ensures you maintain your night vision, but still allows you to make your way around rough terrain and the camera settings.
Seek Out Dark Skies and New Moons
To take photographs of the night sky, head into the wilderness and somewhere remote and rural. Even an hour or two toward a campground will do. Only there will you find the darkest skies possible, free from light pollution caused by artificial light. Light pollution limits your visibility and makes it tremendously harder to capture those gorgeous starry shots.
Where do you find dark skies? Here are a few places to help locate dark skies near you.
- The International Dark Sky Association (IDA) offers a map of all the officially registered Dark Sky Places.
- Dark Site Finder is another resource for locating dark sky locations.
- Light Pollution Map has a handy map too.
Taking photographs of the night sky from your own backyard? That’s okay! Just be sure to turn off any exterior house lights like porch lighting. Even the glow from interior lights shining through windows can inhibit a decent shot of the night sky.
Now, if you want to photograph the moon, that’s a different story. Despite what you might assume, the best time to capture the moon is actually at dusk, not closer to midnight.
Of course, the best time to take photographs of the night sky is during a new moon, when there are dark skies. Check out the Life inTents Stargazing Calendar to find the best opportunities for capturing the starry sky during dark skies.
Apps Are Your Friends
Unless you’re a seasoned sailor who knows constellations like the back of their hand, you’ll need a way to navigate the constellations. Luckily, there’s an app for that. Several astronomy apps, in fact.
A few star apps we love are:
- Stellarium Mobile
- SkySafari
- Star Walk 2
Check out the rest of our blog Utilizing Astronomy Apps where we go into a deep dive into these useful desktop and mobile applications.
Set Up Your Camera and Tripod
Once you locate where among the skies to angle your lens, it’s time to set up your camera on the tripod. At this point, consider the composition you want to achieve. Do you want to capture a landscape with mountains in the foreground? Are you capturing a vertical shot of the stars directly above you with treetops? Whatever it is, set up your camera and tripod toward the night sky and the constellations you’re trying to photograph.
And remember, the night sky is meant to leave you in awe, so inviting the foreground into the shot makes the photograph much more magnificent!
Fine-tune Your Camera Settings

Next, prepare and fine-tune your camera settings to capture the best shot.
Here are the settings you should always use:
- Keep your camera set to manual, allowing you to keep the shutter open.
- Turn off autofocus.
- Turn on the camera’s Long Exposure Noise Reduction.
- Shoot NEF (RAW) to enhance the image enough to make adjustments in post-production.
- Set the white balance to 2800°K - 4000°K, checking the histogram graph to verify proper exposure.
Next, fine-tune the camera settings:
Digital Photography School suggests camera settings:
- 25-second shutter speed
- f/2.8 aperture
- ISO 1600 – keep low to prevent 30+ shutter speed
Another “fail safe” that the pros use is:
- 20 seconds
- f/2.8
- ISO 3200
Higher ISOs will capture the most amount of light. However, with that advantage comes a bit of noise. So the trick is to strike a balance between the two, keeping the ISO low with a shutter speed of roughly 30 seconds, nothing over. Take advantage of your lens, using the widest aperture it will allow. When all is said and done, a little experimentation and trial and error will help you achieve an amazing shot.
Turn Off All Lighting
Once you’re in position, turn off all lighting. This means everything from the LCD screen of your camera to your camp lighting and lanterns (if you’re camping). You could briefly use the LCD screen to zoom in on the image in order to check sharpness, but in general, keep your LCD screen off.
Use red light mode on your headlamp to gradually adjust your night vision, which typically takes around 15 minutes. The only exception to this rule is if you purposely plan to create lighting accents or glow to the foreground using Speedlights.
Take the Shot

Your eyes will adjust to the dark, making it difficult to know what you’re capturing or how the shot will turn out. Luckily, your camera does that work for you. Your camera can pick up more highlights, shadows, and color subtleties, allowing you to edit the photo in post with photo-imaging software. Then, you can make those subtle hues and tones really pop. Even the greatest astrophotographers use photo-imaging software.
Here are a few useful ones:
- Photoshop: for making slight adjustments to colors, contrast, brightness and so much more.
- Deep Sky Stacker: for stacking multiple in-focus photos. For example, time lapses of the stars and landscape foregrounds or the moon and landscape composites.
When you take the shot, do so with your remote shutter or timer. Even the slightest motion can disturb a long exposure. And remember! Try a couple of test shots first.
Dress Warm and Be Patient
Finding your angle, tweaking the camera settings, and possibly preparing for that bountiful peak of a meteor shower will all take time. So remember to be patient and don’t rush it – just enjoy being out in nature and appreciate the stars.
For that, it pays to learn some tips on how to stay warm during stargazing. From dressing in warm clothes (because the best views are higher views, away from light pollution) to packing hot coffee or tea (for a caffeine boost to keep awake), staying warm and cozy while you take photographs of the night sky will allow you to enjoy them longer and get the best shot.
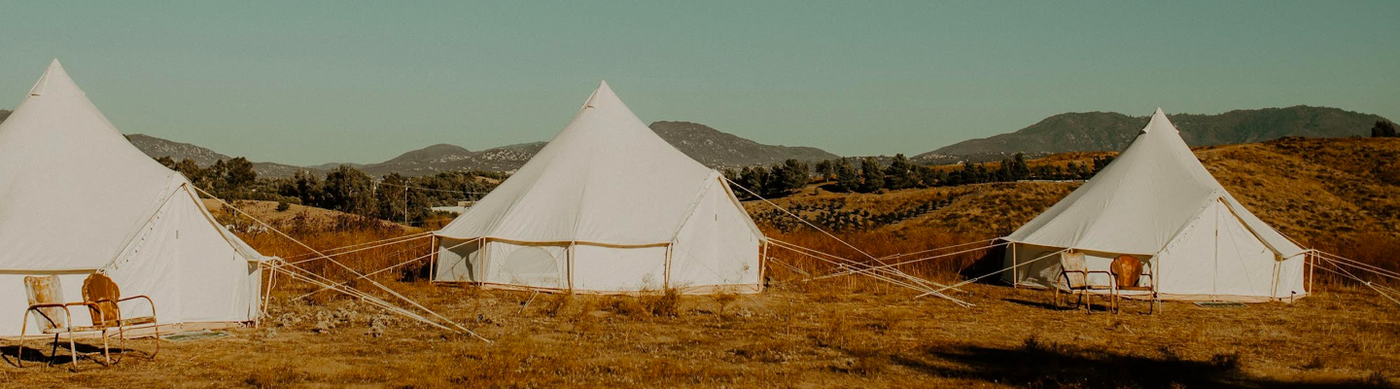
Another way to stay warm is with a stargazing tent. Life inTents offers the beautiful and cozy Stella Stargazing Tent series that keeps you protected from the elements, yet is designed with a clear top so you can relax under the stars while gazing out.
With 3 different sizes, you can head out on a solo stargazing adventure in the compact 13-foot Stella or bring the entire family along in the massive 20-foot Stella! Perfect for overlanders who need a little extra room too!
Share Your Night Sky Photos With Us!
Taking photographs of the night sky isn’t just for skilled astrophotographers. Anybody can do it – it just takes practice and a little patience.
Want to showcase your night sky photos with us? Tag Life inTents socials to share your astrophotography – especially if you capture a Stella or one of our beautiful bell tents in the foreground!
Related Resources
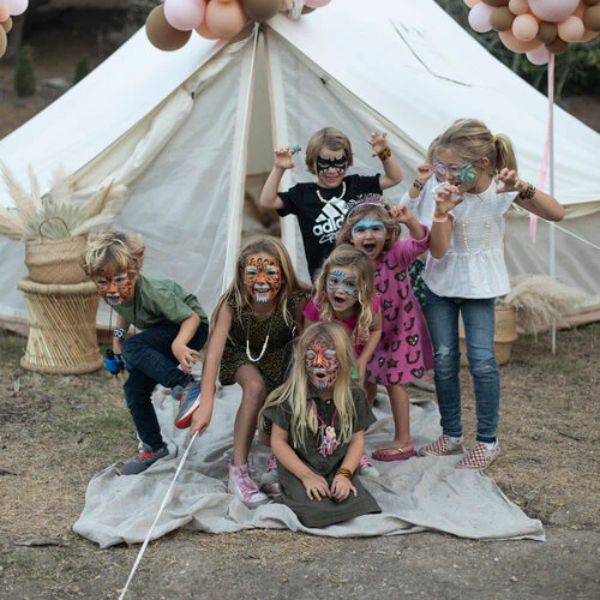
Ideas para acampar en el patio trasero con niños durante el COVID-19
Acampar en familia durante el coronavirus puede ser una aventura tan grande como acampar en el bos Acampar en su propio patio trasero puede ser una aventura tan grande como acampar en el bosque, pero con la ventaja adicional de estar a solo unos pasos de su propia cocina y baño. Aquí hay algunas ideas sobre cómo llevar a cabo una experiencia de campamento para niños en el patio trasero.

¿Pueden las empresas de glamping sobrevivir a una recesión?
Examinando la resiliencia de las empresas de campings de lujo: El glamping , el primo lujoso delExaminando la resiliencia de las empresas de campings de lujo.